This article will guide you through integrating Codeberg with Keycloak, allowing you to use Codeberg as an authentication provider.
Using Codeberg with Keycloak means that you explicitly trust Codeberg and its operators with managing your identities.
To test configurations on your
localhost, the--hostname-urlflag can be used to change the Redirect URI and other relevant fields' prefixes. The following example is not persistent between executions:docker run -p 8080:8080 \ -e KEYCLOAK_ADMIN=admin -e KEYCLOAK_ADMIN_PASSWORD=admin \ quay.io/keycloak/keycloak:22.0.0 start-dev \ --hostname-url=http://127.0.0.1:8080This instance will be accessible at http://127.0.0.1:8080/admin with the Username and Password,
admin.
Creating a new identity provider
From the Keycloak Administration UI, click on "Identity providers" and select "OpenID Connect v1.0" in the "User-defined" section.
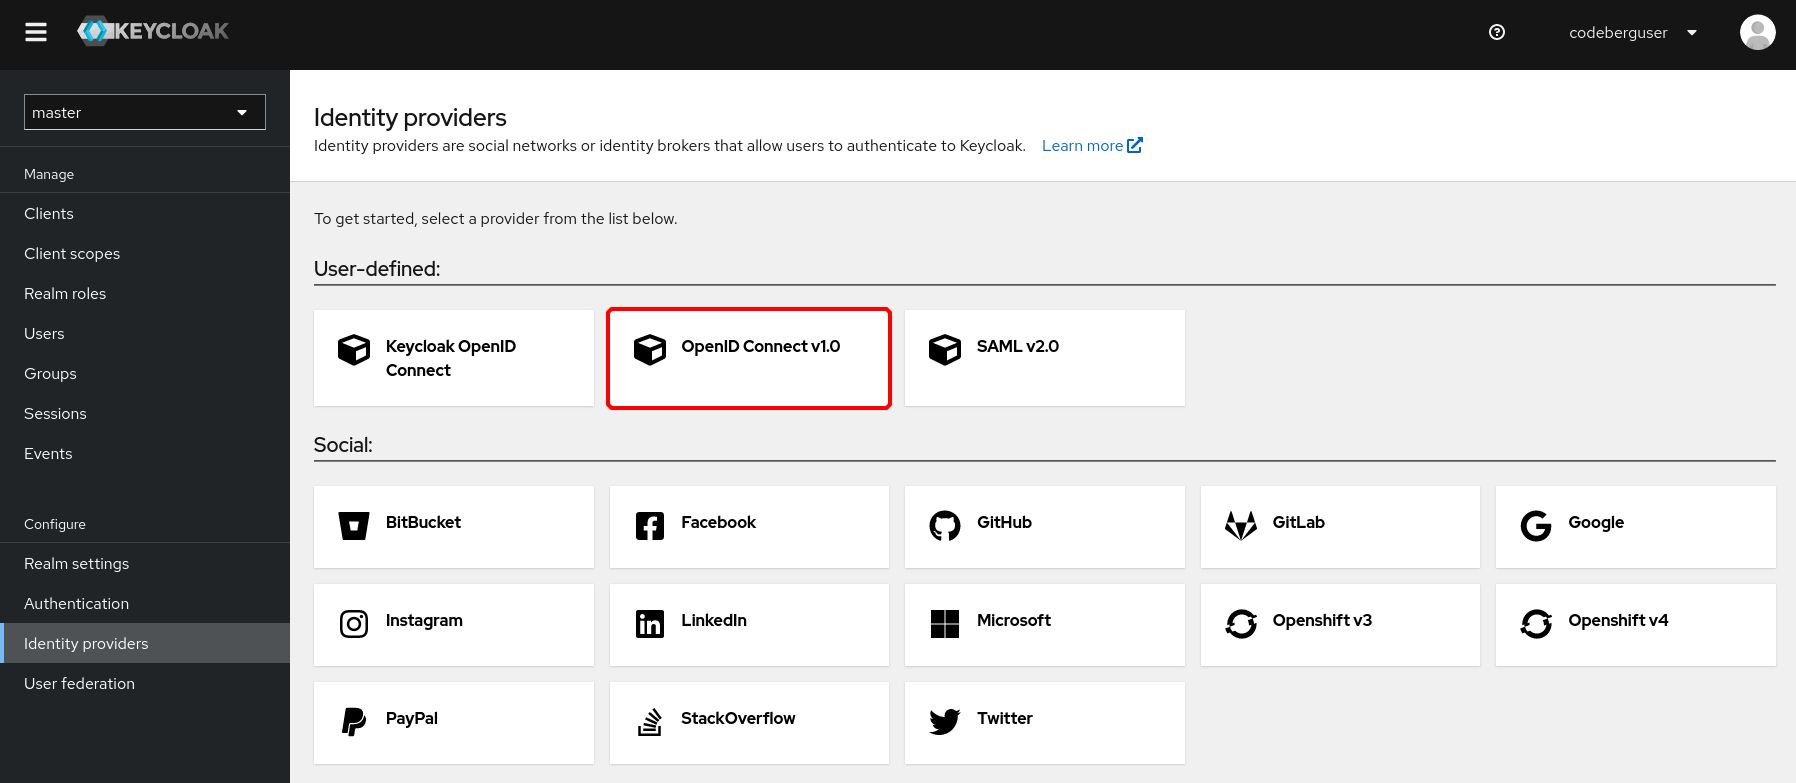
You should see a field called Redirect URI that has already been filled out for you. Copy the link to your clipboard and leave the page open.

Set up an OAuth2 application on Codeberg
On Codeberg, go to "Settings", then "Applications". You should be able to find a section called Manage OAuth2 Applications.
Applications can also be created under an Organization as opposed to being tied to one user's account: https://codeberg.org/org/YOUR_ORGANIZATION_NAME/settings/applications.
Keycloak must be configured by the Organization owner. This approach can help increase the so-called bus factor, provided that multiple organization owners are present.
The Application Name can be arbitrary; we will use "My Keycloak Instance" for illustrative purposes. Make sure to paste the Redirect URI that was shown in Keycloak earlier.
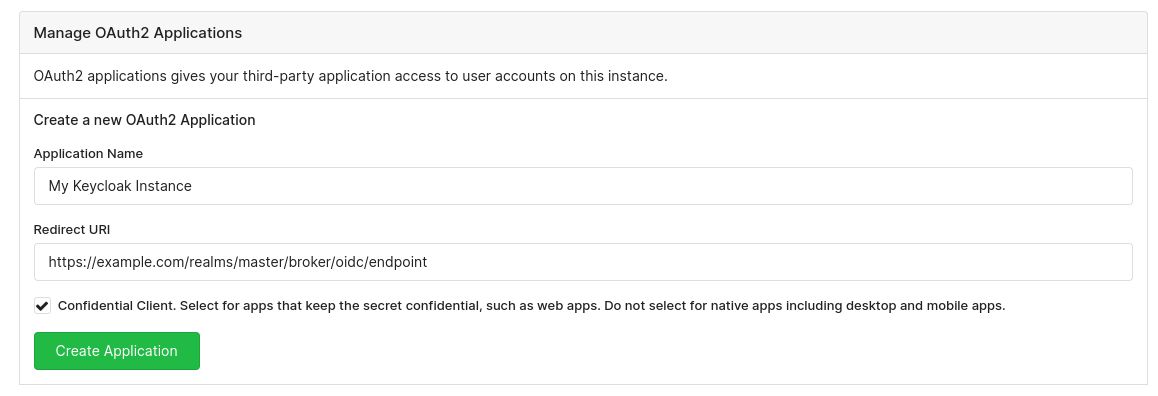
When you are done, click on the green Create Application button.
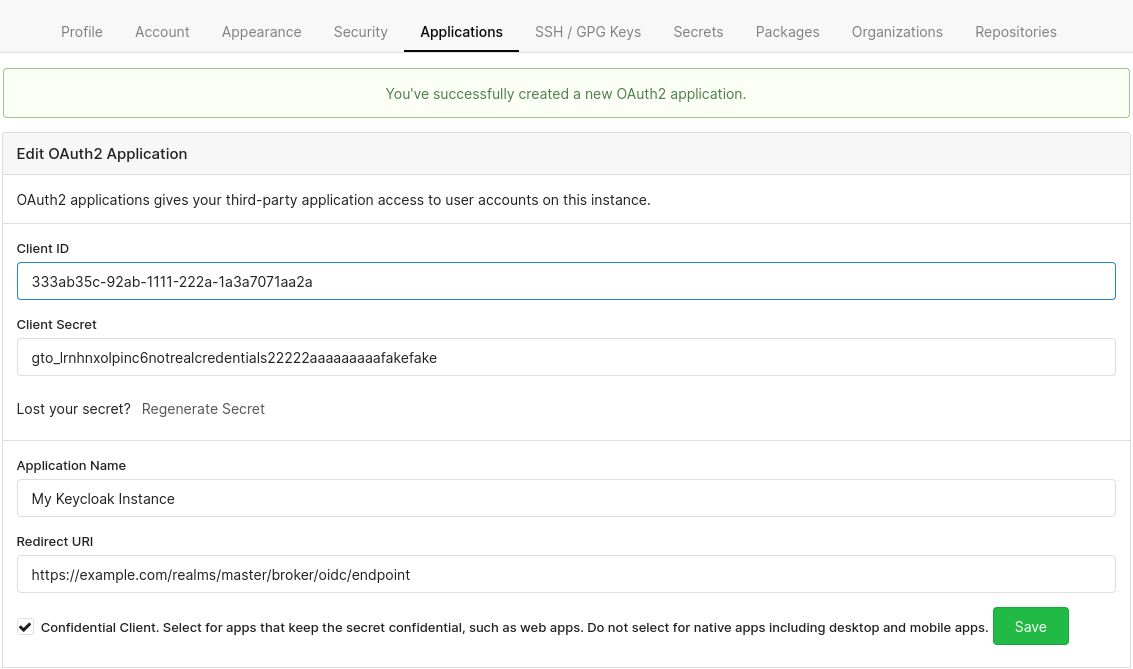
You should now see two new fields: Client ID and Client Secret.
Finish configuring Keycloak
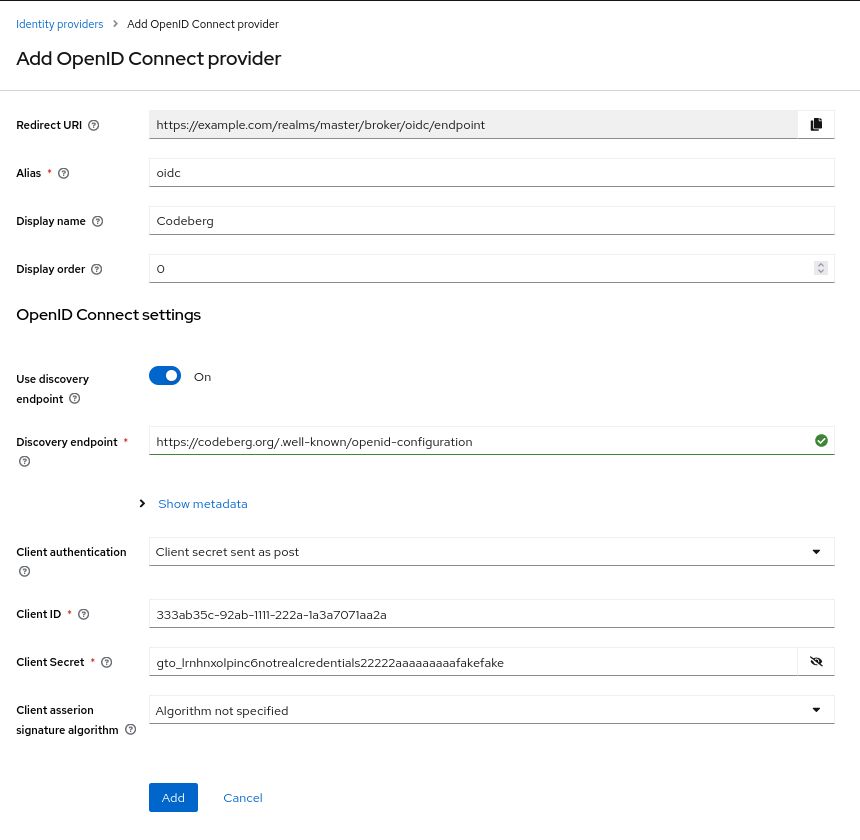
Let's finish configuring the OpenID Connect provider on Keycloak.
- Alias: Arbitrary. For illustrative purposes, we will use
oidc.codebergcould be used as well. - Display Name: Also arbitrary. Here, we will just use
Codeberg. - Set Use discovery endpoint to On.
- Discovery endpoint:
https://codeberg.org/.well-known/openid-configuration - Client ID: Use the Client ID provided by Codeberg.
- Client Secret: Use the Client Secret provided by Codeberg.
All other options can be left untouched. The discovery endpoint will be used to fetch all metadata required for your Keycloak instance to work together with Codeberg.
You can also optionally enable the Proof Key for Code Exchange (PKCE) extension in the Show metadata dropdown menu.
In summary, this is what your configuration should look like:
Click on the Add/Save button. You will be redirected to the settings of your brand new identity provider. Now, you will be able to use Codeberg to authenticate with the services that you use Keycloak with. Enjoy!